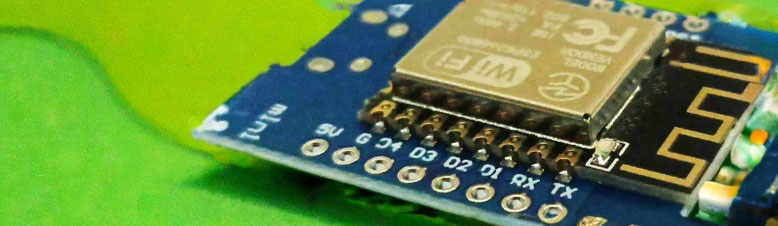
Assuming you've successfully Downloaded and Flashed the
unicontrol software on your ESP8266, your device may perform the following actions upon the first boot:
Full File system format and Factory reset, indicated by the glowing on-board LED.
This may take up to 10 minutes, so do not disconnect or reset the device during this phase.
You can avoid this by selecting the factory install option when uploading the firmware.
Once the File system is ready and the Factory reset is complete, the device will boot up, indicated by 10 fast flashes of the on-board LED.
Following the first boot, the device will run without any wireless connection, indicated by a single flash of the on-board LED every 10 seconds.
However, it will be fully responsive to the Serial port and the System button.
It's now up to you to set up the device. Specifically, you need to:
Access the device via the Web Interface and perform a thorough setup.
Refer to the linked sections below for detailed assistance.
Once the setup is complete, your device will operate as you defined. Check out our other Tutorials and Projects or Blog for inspiration on what you can do with
your brand-new unicontrol device.
Connect to Wi-Fi
Most of the device's setup is done through the Web Interface, which requires the device to be connected to the local wireless network.
However, the ESP8266's lack of a keyboard can make this task tricky. Here are several options how to overcome this and connect your ESP8266 to your local wireless network:
The ESP8266 is only compatible with the 2.4 GHzWi-Fi networks.
Access Point option: Generally the most reliable and fastest way to access your unicontrol device.
In this mode, the ESP8266 acts as a Wi-Fi Access Point that you can connect to with your computer or mobile device.
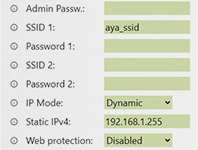
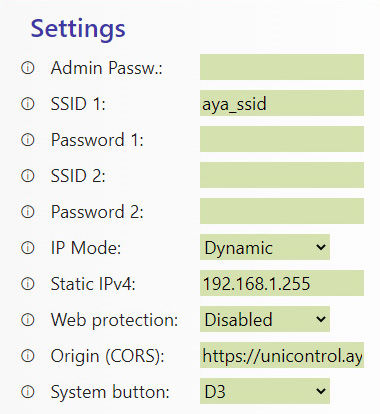
Use the built-in setup page to provide the target network's SSID and Password:
AP mode options
Check out our detailed guide for more information.
Serial Port option: This method uses a USB cable connection between the ESP8266 and a computer.
Using a standard serial console like PuTTY or similar software, send the target network's SSID and Password over the Serial COM port.
For example, sending wifissid1 new_ssid and wifipass1 new_password via the PuTTY console will set the new Wi-Fi credentials, which may look somthing like this:
PuTTY console
You can check out our dedicated blog post on this method for a detailed guidance on how to communicate with your
ESP8266 via Serial COM port, or the related technical specification.
Default network option: The last resort option is to create a separate network with SSID: aya_ssid and Password: aya_pass
on an unused Wi-Fi router or mobile device hotspot. The unicontrol device will automatically recognize
this network and connect to it immediately. From within this network, you can access the Web Interface and provide the target network's SSID and Password.
This method is not preferred due to potential challenges and roadblocks.
Once the unicontrol device successfully connects to the wireless network, it will indicate this by flashing its
on-board LED twice every 10 seconds.
Identify the IP address
After successfully connecting your device to the target wireless network, the next step is to identify its local IP address before accessing it through the Web Interface.
There are several options how you may obtain it:
Display: The easiest way to identify the device's assigned local IP address is when the device features the Display (e.g. the
sensoraya control module) in which case the device itself shows the address on which it can be accesses:
AP mode options
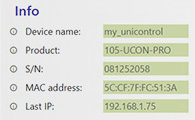
Access Point option: Besides what is described above, the Access Point mode menu also displays
the device's assigned local IP address from the last valid STA connection at the bottom of the Info section:
AP mode options
You can return to the AP mode after connecting to the target network to learn the IP address that will likely remain reserved
for the device also for the subsequent reconnection.
You can then reboot the device and provide the newly learned address to the Web Interface.
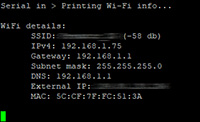
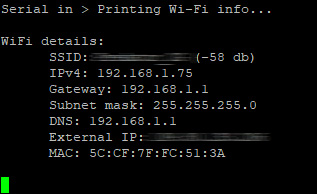
Serial Port option: The built-in Serial Interface has a dedicated command wifi info, which when submitted via the Serial COM port,
the unicontrol device responds with basic wireless connection data, including the local IPv4 address:
PuTTY COM console
You can check out our dedicated blog post on this method for a detailed guide on how to communicate with your
ESP8266 via Serial COM port, or the related technical specification.
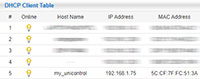
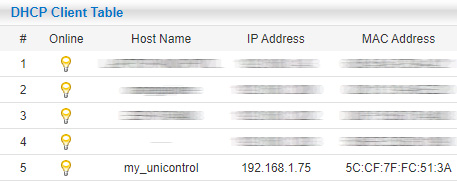
Router option: In case you are an administrator of the target wireless network, the easiest option is to check the client list of your router.
You will likely notice the new device named my_unicontrol connected, along with its assigned IP address:
Wi-Fi router client list
Web Interface
Once you have connected your device to the wireless network and obtained its assigned IP address, you can access it via the Web Interface.
To do this, you have, again, multiple options:
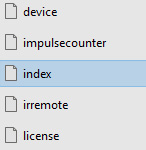
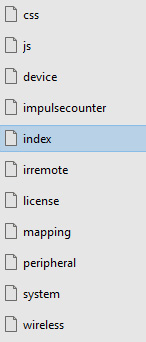
Local interface: Unpack the interface_[VERSION] folder from the downloaded archive and open the index.htm (or any other .htm) file inside.
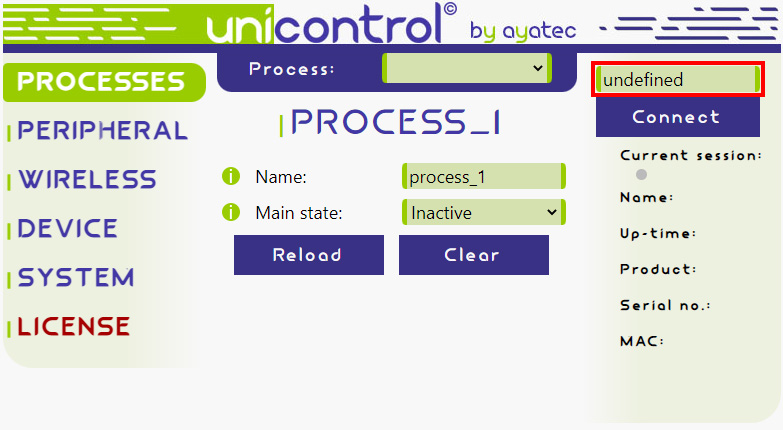
This will launch a locally hosted copy of the original HTML-based Web Interface, with an IP address field in the upper-right corner of the page.
Initial view on the locally hosted Web Interface
For a better convenience it is possible to host this folder on any webserver present within the local network.
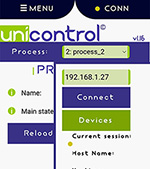
Android app: The same HTML-based Web Interface can be opened as an android app
available on Google Play.
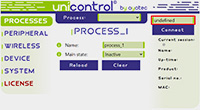
In the app, the IP address field is located in the CONN container.
Initial view on the locally hosted Web Interface
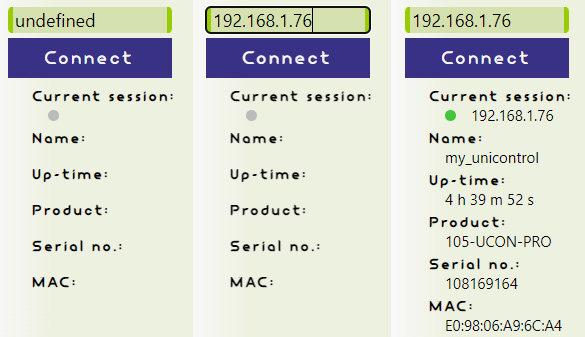
Enter the identified IP address into the highlighted field and click Connect:
Filling in the IP address
If the Connection panel is filled with your device's details and a green dot appears next to its IP address,
the interface has successfully established a connection with your unicontrol device.
You now have full control over it and can proceed to create your First pocess.